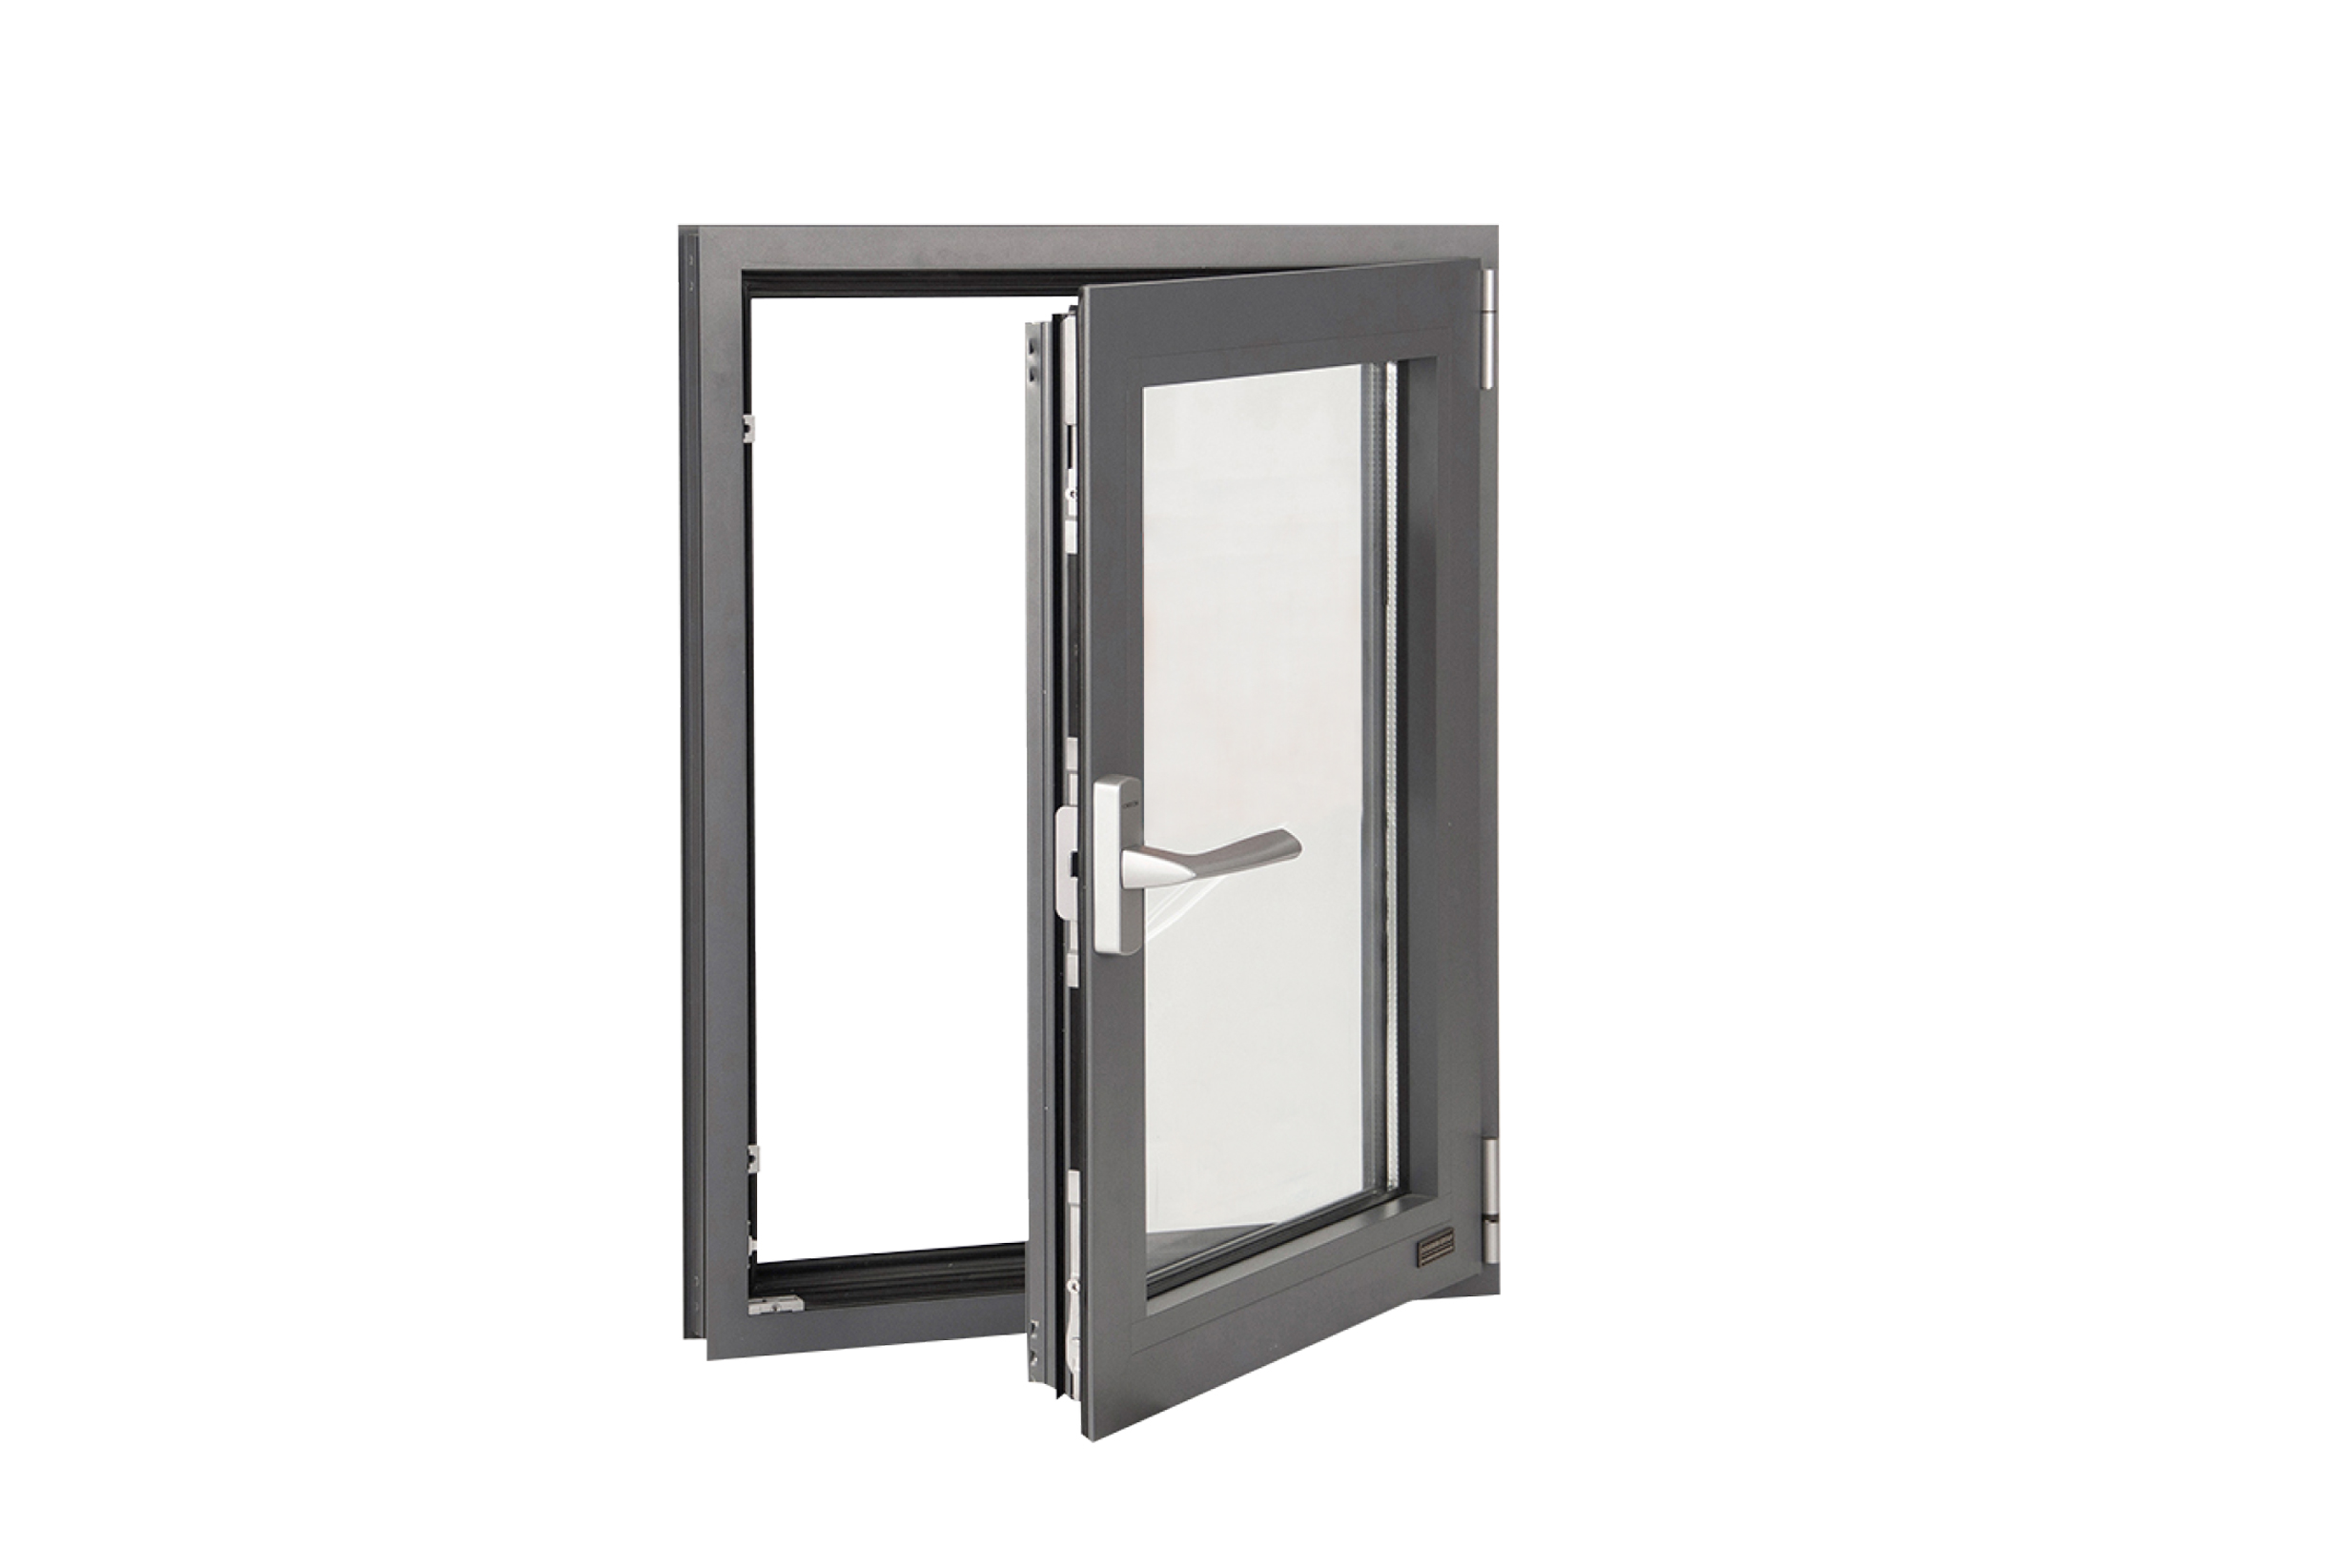
How to Build a Custom Exterior Door
Building a custom exterior door can be a challenging but rewarding project. Whether you are looking to replace an existing door or add a unique touch to your home, creating a custom door allows you to tailor it to your specific needs and style. In this blog post, we will guide you through the step-by-step process of building a custom exterior door. Let's get started!
Step 1: Choose the Right Materials
The first step in building a custom exterior door is selecting the right materials. It's crucial to choose materials that are durable and weather-resistant since your door will be exposed to various environmental conditions. Common materials for exterior doors include wood, fiberglass, and steel. Each material has its advantages and limitations, so consider factors such as cost, maintenance, and aesthetic appeal when making your choice.
Step 2: Take Accurate Measurements
Accurate measurements are essential to ensure your custom door fits properly. Measure the height, width, and thickness of the existing door frame or the space where the door will be installed. It's important to note that custom doors may require additional space for insulation or specific hardware. Take precise measurements to avoid any issues during installation.
Step 3: Design and Plan Your Door
Design your custom door according to your preferences and the architectural style of your home. Consider elements such as panel designs, glass inserts, or decorative accents. Sketch out your door design and create a detailed plan, including dimensions and any additional hardware required. Planning ahead will help you stay organized and ensure a smooth construction process.
Step 4: Prepare the Materials
Once you have your design and plan ready, gather all the necessary materials and tools. Depending on your chosen material, you may need a wood saw, chisels, sandpaper, glue, clamps, or paint. Make sure to have everything on hand before starting the construction process to avoid delays.
Step 5: Construct the Door Frame
If your door will have a new frame, start by constructing it. Measure and cut the frame pieces according to your door's dimensions. Use sturdy materials and ensure the frame is square and level during installation. This is a critical step as it will ensure the stability and proper functioning of your custom door.
Step 6: Assemble the Door
Using the measurements and design plan, cut the appropriate panels for your door. Join the panels together using wood glue or appropriate fasteners. Sand the surface to achieve a smooth finish, and make any necessary adjustments to ensure the door fits perfectly within the frame.
Step 7: Finishing Touches
Once the door is assembled, it's time to add the finishing touches. This includes sanding any rough edges, applying a protective finish or paint, and installing hardware such as handles, locks, and hinges. Pay attention to details to achieve a professional and polished look.
Step 8: Installation
Finally, it's time to install your custom exterior door. Carefully position the door within the frame and secure it using appropriate screws or bolts. Make any necessary adjustments to ensure the door opens and closes smoothly. Test the door for proper insulation and security before considering the project complete.
Building a custom exterior door requires time, patience, and attention to detail. It is a rewarding endeavor that can enhance the appearance and functionality of your home. Remember, take measurements accurately, plan your design, and follow each step carefully to achieve the best results.
how to build a custom exterior door

 Picture Windows
 Single Double Hung Windows
 Tilt & Turn Windows
 Sliding Windows
 Bi-Fold Windows
 Gliding Patio Doors
 Bi-Fold Doors
 Lift and Slide
  Entry Doors
 Swinging Doors


.jpg)
.jpg)