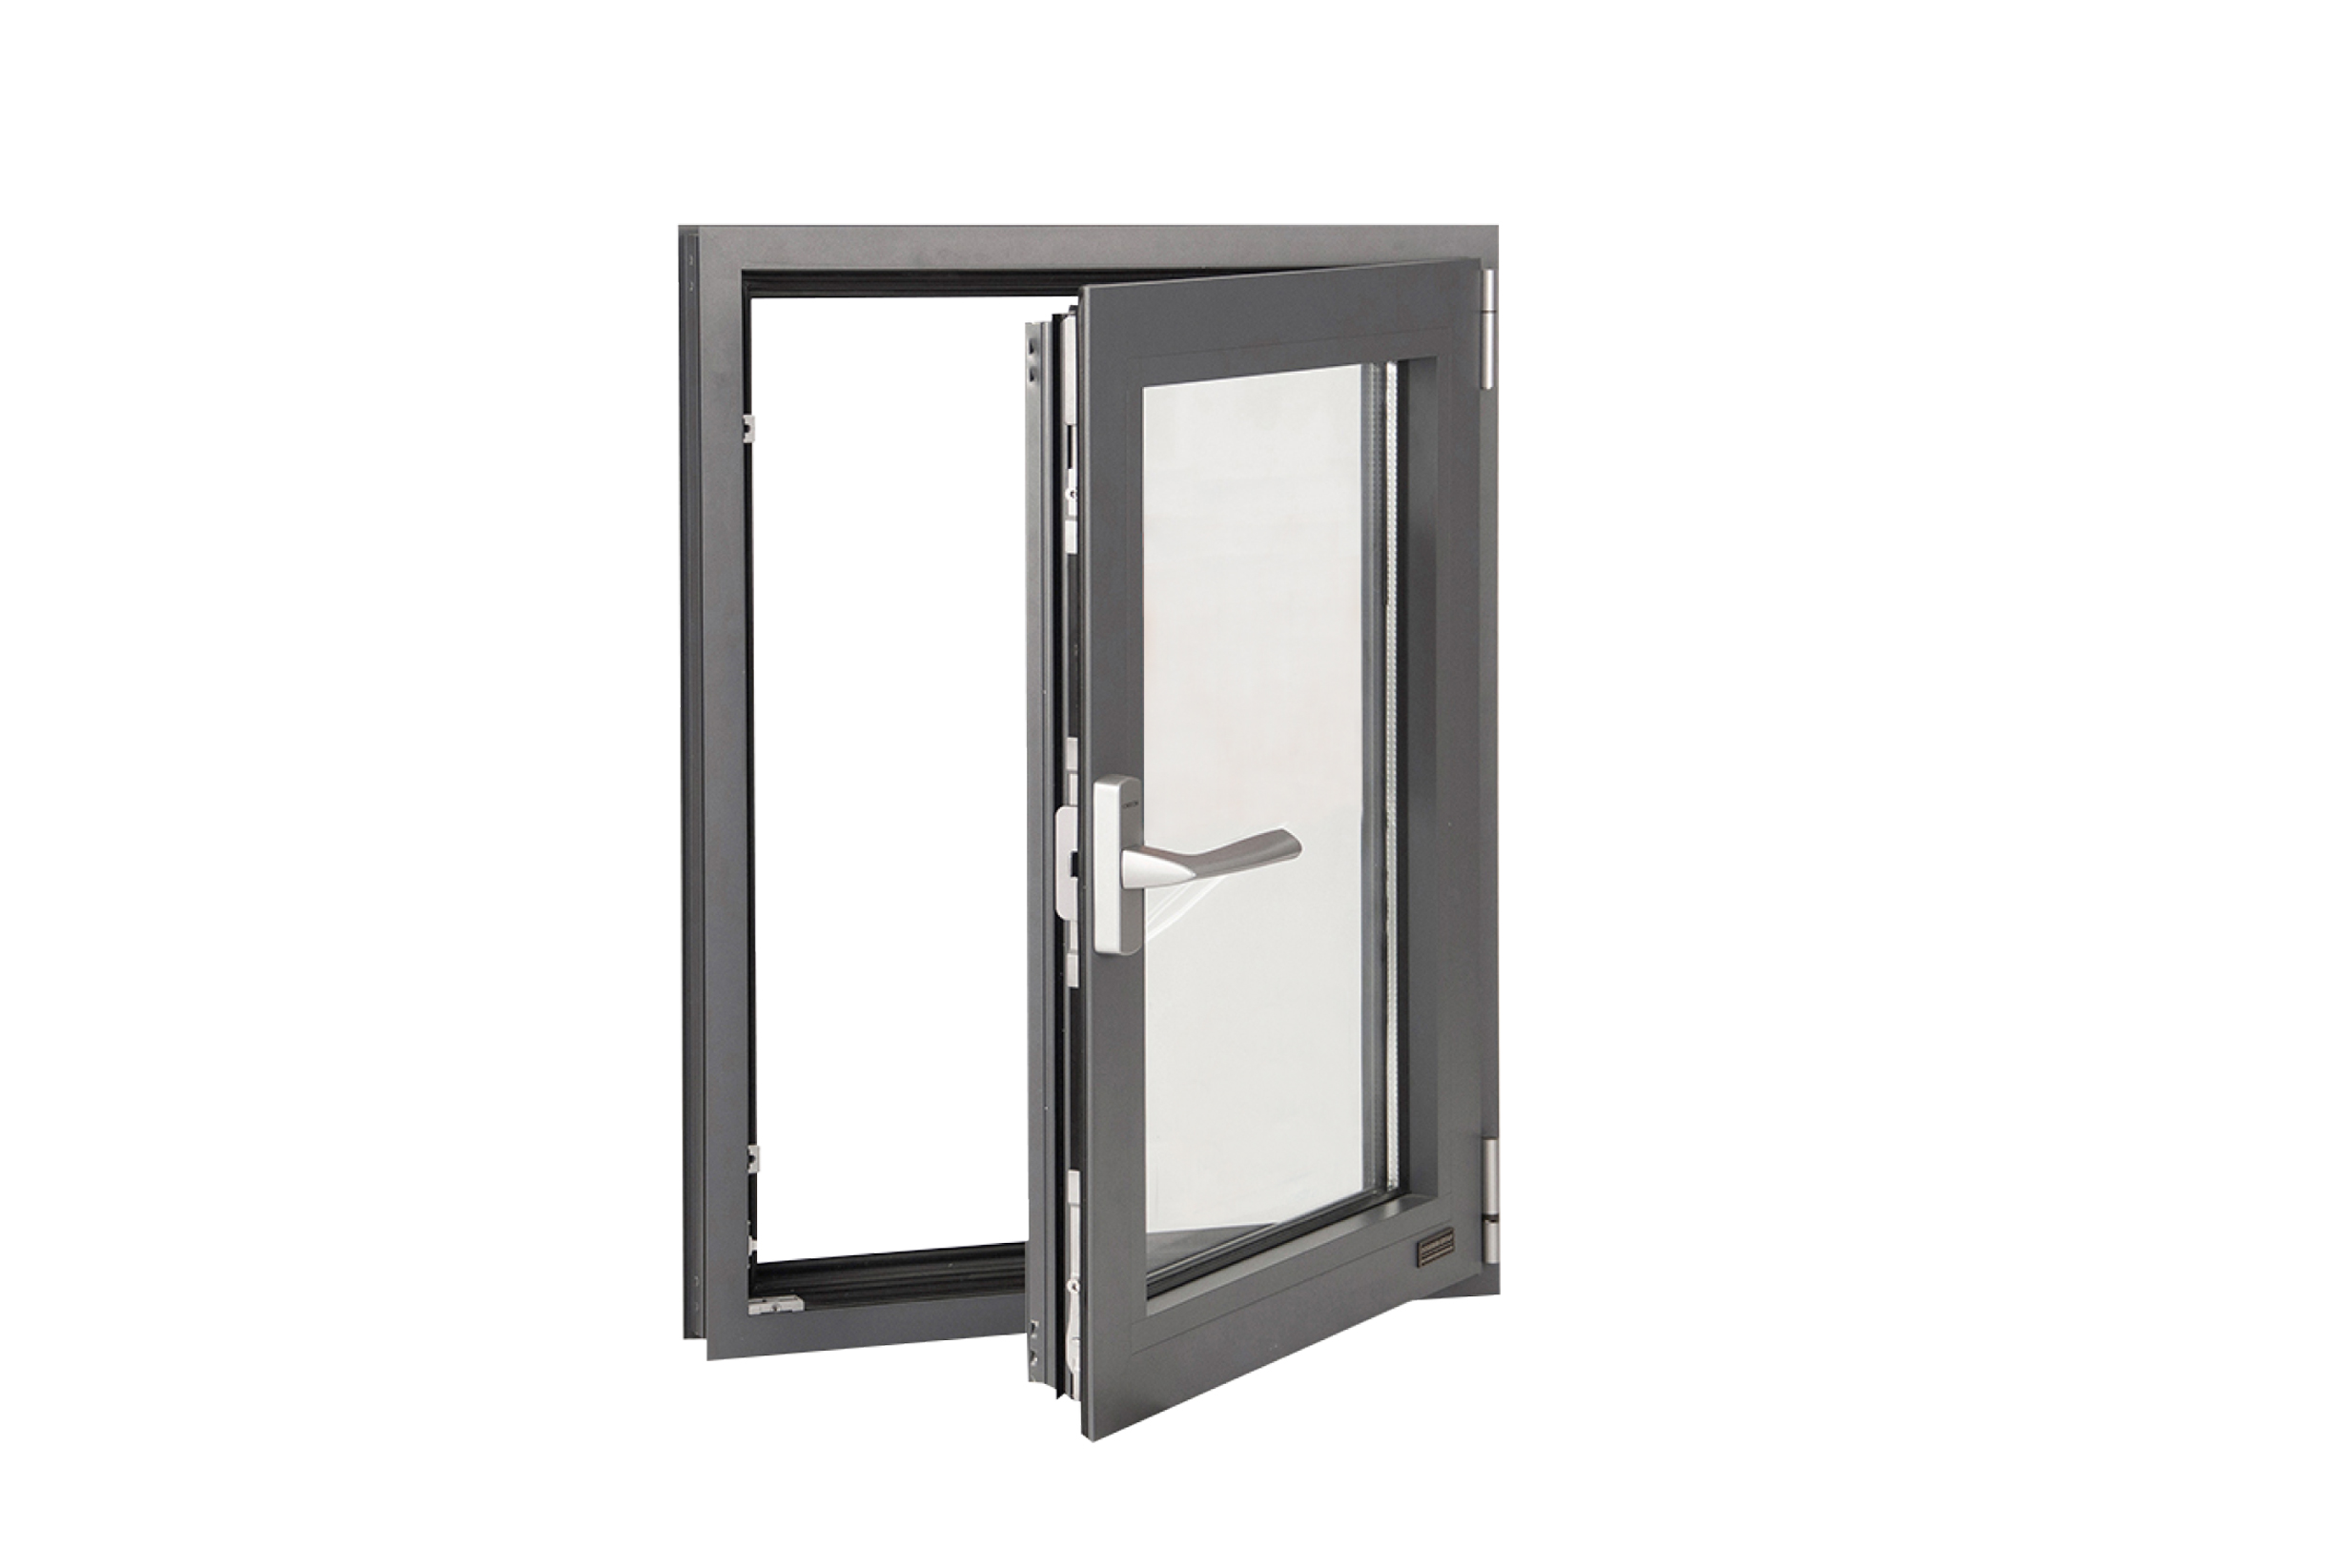
How to Create Beautiful Custom Wood Door and Window Casings
Are you looking to upgrade the look of your home? Custom wood door and window casings can add a touch of elegance and sophistication to any space. In this blog post, we will guide you step-by-step on how to create stunning custom wood casings that will enhance the overall aesthetic of your doors and windows.
Materials needed:
- Wood boards
- Miter saw
- Table saw
- Measuring tape
- Pencil
- Sanding paper
- Nail gun
- Wood glue
- Wood filler
- Paint or stain
- Paintbrush
Step 1: Measure and plan
The first step is to measure the dimensions of your doors and windows. Plan out the design and decide on the size and style of your casings. Consider architectural styles, room decor, and personal preferences when choosing the design.
Step 2: Choose the right wood
Next, select the type of wood that matches your desired aesthetic and budget. Popular choices include oak, pine, or cherry. Keep in mind the durability and maintenance requirements of each wood type.
Step 3: Prepare the wood
Using a miter saw and table saw, cut the wood boards to the required lengths and angles according to your measurements and design plan. Remember to wear safety goggles and follow proper cutting techniques.
Step 4: Sand and shape
Smooth the edges and surfaces of your cut wood pieces using sanding paper. This will create a polished look and prevent any splintering. Use a pencil to mark any intricate designs or patterns you wish to add.
Step 5: Assemble the casings
Apply wood glue to the edges and joints of the wood pieces and use a nail gun to secure them together. Ensure the corners are aligned correctly. Fill any gaps or nail holes with wood filler, then sand the surface one final time for a flawless finish.
Step 6: Paint or stain
Choose a paint or stain color that complements your existing decor and aesthetics. Apply several coats for an even finish. Make sure to let each coat dry completely before applying the next one. Use a small paintbrush to reach the intricate details if needed.
Step 7: Install the casings
Once your custom wood casings are dry and ready, carefully position them around the doors and windows. Use a nail gun to attach the casings to the surrounding trim or frame. Ensure they are level and securely fastened.
Congratulations! You have successfully created beautiful custom wood door and window casings. Take a step back and admire the transformation these elegant details bring to your home's interior!
Remember, investing time and effort into creating custom wood casings can significantly enhance your home's overall aesthetic appeal. The unique and personalized touch will make your space stand out.
So, what are you waiting for? Get started on your custom wood door and window casings project today, and enjoy the beauty and warmth they bring to your home!
how to make custom wood door and window casings

 Picture Windows
 Single Double Hung Windows
 Tilt & Turn Windows
 Sliding Windows
 Bi-Fold Windows
 Gliding Patio Doors
 Bi-Fold Doors
 Lift and Slide
  Entry Doors
 Swinging Doors


.jpg)
.jpg)