How to Make Custom Closet Doors
Creating custom closet doors can be a rewarding project that adds a unique touch to your home decor. Whether you are looking to enhance the functionality of your closet or give it a stylish makeover, customizing your closet doors can make a significant difference. In this blog post, we will guide you through the process of making your own custom closet doors, allowing you to unleash your creativity and achieve the desired aesthetic for your space.
1. Determine the Door Design
The first step in making custom closet doors is to decide on the design you want to create. Consider the style, materials, and finishes that will complement your overall room design. Some popular options include:
- Sliding barn doors:
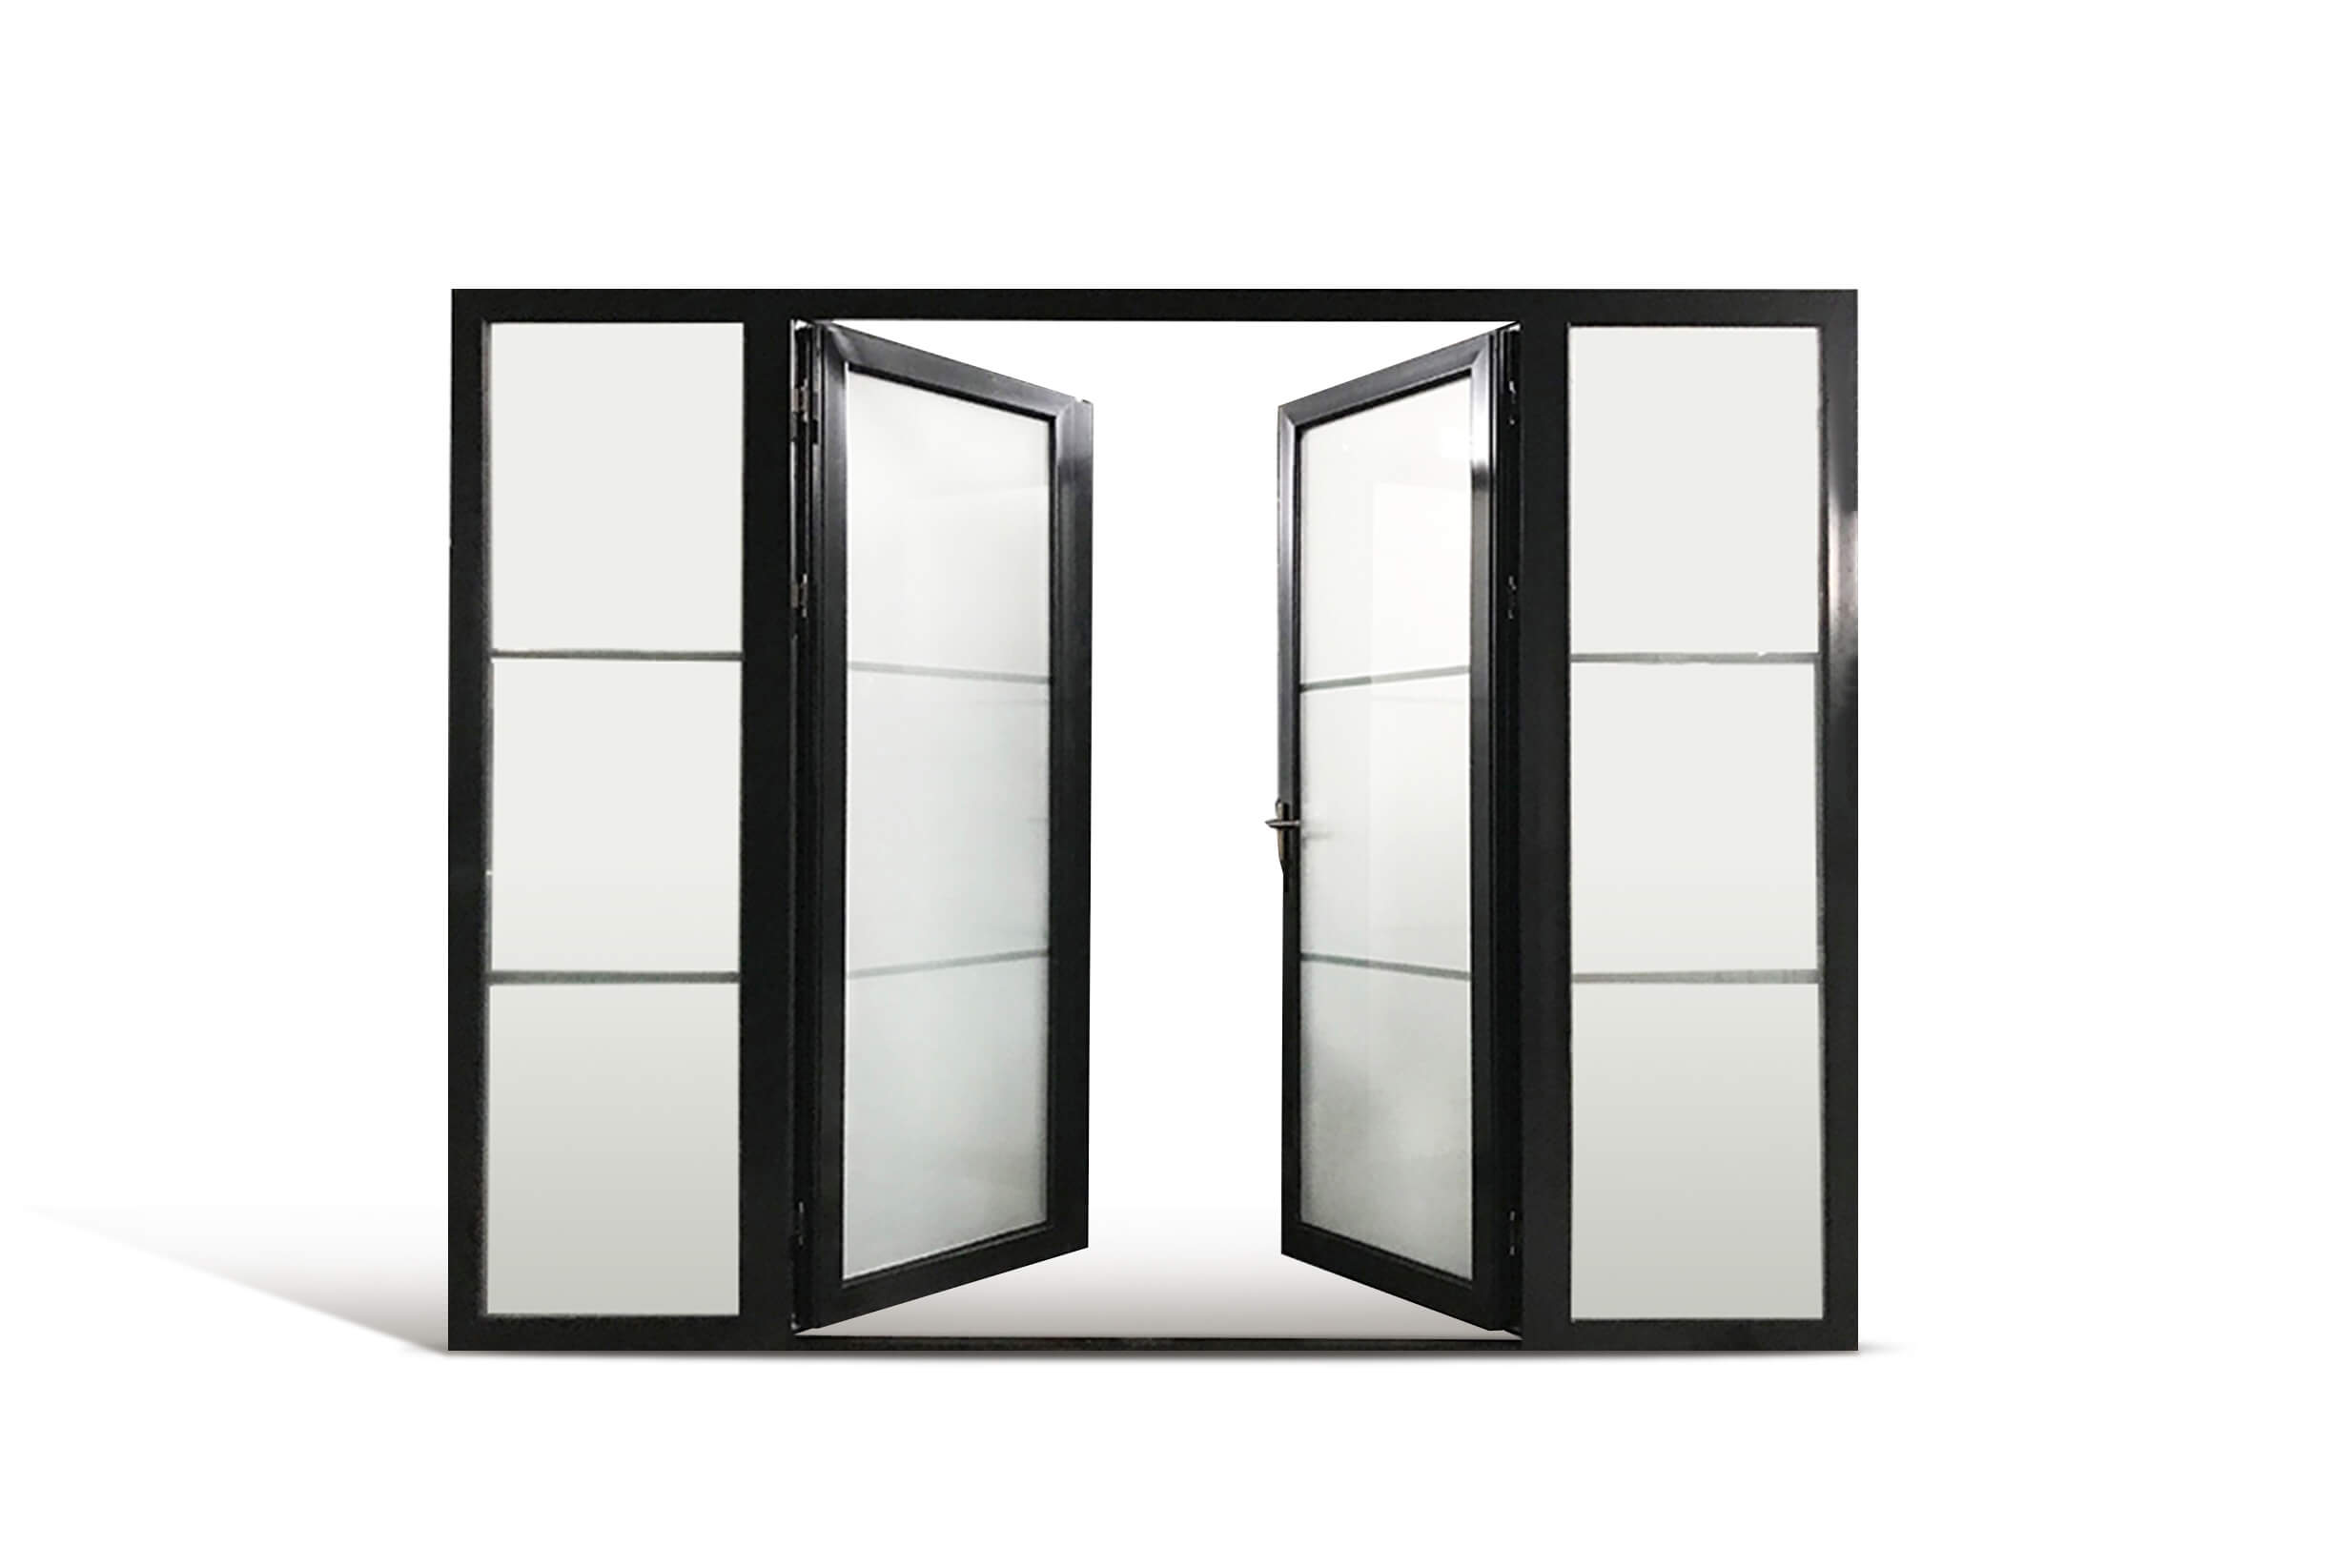
- Frosted glass doors:
- Mirrored doors:
A rustic and trendy option that adds charm and character to your space.
These doors bring elegance and privacy to your closet while allowing some light to pass through.
If you want to create an illusion of a larger space and have a functional full-length mirror, this is a great choice.
2. Calculate Measurements
Precision is crucial when creating custom closet doors, so take accurate measurements of the closet opening. Measure the height, width, and depth of the closet to ensure a perfect fit. Keep in mind that the measurements should consider the thickness of the door material and any hardware you plan to use.
3. Choose Suitable Materials
Next, select the materials based on your design and budget. Common options include solid wood, plywood, MDF, or a combination of these. Consider the durability and aesthetics of the materials, as well as how they align with your overall room style.
4. Gather the Necessary Tools
Before starting the project, make sure you have all the tools required. Here are some essential tools you may need:
- Measuring tape
- Saw (circular saw or miter saw)
- Screwdriver
- Drill
- Hinges
- Sanding block
- Paint and brushes
5. Build and Install the Doors
Once you have all the necessary materials and tools, it's time to build your custom closet doors. Follow these steps:
- Cut the door panels to the measured dimensions.
- Sand the edges and surfaces to create a smooth finish.
- If desired, add decorative elements such as trim or molding to enhance the appearance.
- Attach the hinges to the door panels, ensuring they are properly aligned.
- Install the doors by attaching the hinges to the closet frame.
- Make any necessary adjustments to ensure the doors open and close smoothly.
6. Finishing Touches
After installing the custom closet doors, give them the finishing touches to achieve the desired look. Consider painting or staining the doors to match your room decor. Apply a protective finish to ensure the longevity of the doors and enhance their durability.
Remember to let the doors dry completely before using them.
7. Maintaining Custom Closet Doors
To keep your custom closet doors in optimal condition:
- Regularly clean the doors with gentle soap and water.
- Avoid using abrasive cleaners or harsh chemicals that might damage the finish.
- Inspect the hinges and hardware for any signs of wear and tighten them if necessary.
- Perform any necessary repairs promptly to prevent further damage.
Congratulations! By following these steps, you have successfully created your own custom closet doors. Enjoy the unique and personalized touch they bring to your space!
how to make custom closet doors

 Picture Windows
 Single Double Hung Windows
 Tilt & Turn Windows
 Sliding Windows
 Bi-Fold Windows
 Gliding Patio Doors
 Bi-Fold Doors
 Lift and Slide
  Entry Doors
 Swinging Doors


.jpg)
.jpg)